


SoloGroom SoloComb Rake
SoloGroom SoloComb Rake
Couldn't load pickup availability
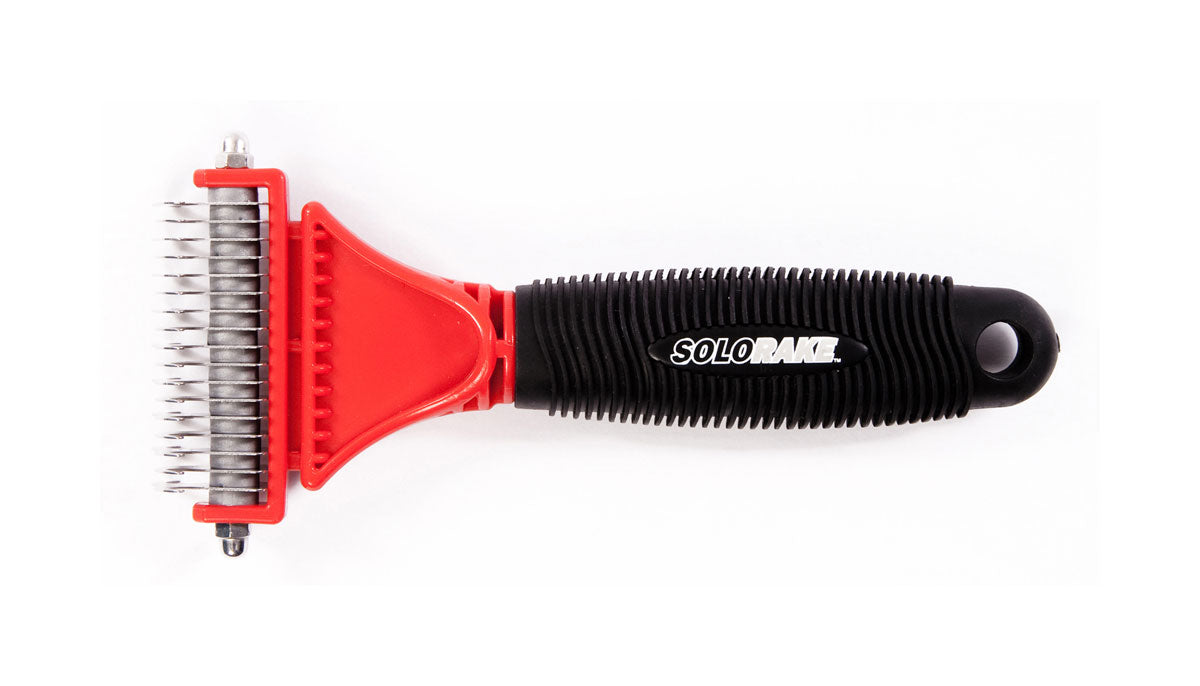
A unique, double headed grooming rake. As you comb a horse’s mane or tail, the rake easily removes hair. ideal for shaping, finishing, thinning and creating a hand stripped look. Rounded tooth combs lift coat evenly for clipping and scissoring, removing tangles and dead undercoat.
The original, humane, problem solving comb. Manufactured from high impact polycarbonate with rubberised coating for non-slip easy grip the blades are heat treated precision engineered stainless steel to ensure a high performance. The blades are designed to provide heavy wear and are easily replaced. The hook on the handle enables the comb to be hung up or attached to a belt.
Instructions for use
Start with a clean tangle free mane or tail (use a conventional pulling comb to remove tangles). It is recommended that you start at the withers and work up to the head. Prepare mane in the same manner as you would with a pulling comb.
Back-comb into the mane by holding the hair (under tension) with one hand, with comb in the other hand, push top hairs back until the desired amount of under-hair to be removed is in teeth of the comb (the amount should be no more than you would pull in the conventional way).
At this point DO NOT PULL THE COMB DOWN; raise the hair held in your hand up into the blades so that the hair is under tension, then simply press the lever on the handle and the hair will be clipped
(for medium/thick manes go closer to the roots).
After back-combing, prepare for the next cut by combing out tangles from the ends of the hair, working your way up to the roots. When the desired length is reached you may want to pinch or nip off the ends of the hairs with your fingers to complete the look.
Step 1. Release Comb Head lock. Step 2. Slide head away from body Step 3. When the comb head has been carefully removed, brush off any dirt or trapped hair from the blades. Step 4. The blades should be wiped with a damp cloth, or preferably small brush, after each use. WD40 may be used very infrequently and very sparingly to ensure good lubrication.
Never use clipper blade oil. Step 5. To replace blades follow steps 1 and 2 above and then remove the fixing screws, blade cover and fixing plate.
N.B. Do not open the main casing as this will invalidate the warranty.
Caution! DO NOT OVERLOAD THE COMB WITH HAIR.
Many small cuts will produce the best results and avoid damage to the precision engineered blades. Remove comb head and clean blades after each use.
Tips for Maintaining your SoloComb:
Before use, always check that the screws are secure and tighten if necessary.
Many small cuts produce the best results and avoid damage to the precision engineered blades. DO NOT OVERLOAD THE COMB WITH HAIR.
Remove the comb head and clean blades after each use. A toothbrush is ideal.
If the blades are not cutting properly check that the screws are secure and have not worked their way loose during use. This could cause hair to become trapped in between the blades, giving the impression that the blades are blunt. Remove the blade cover and blades and clean away any hair that has become trapped. Refit the blades and blade cover ensuring that the screws are firmly and securely tightened (see full instructions below)
To clean or fit replacement blades:
1. Release comb head
- Slide head away from
- When the comb head has been carefully removed, brush off any dirt or trapped hair from the blades.
- The blades should be wiped with a damp cloth, or preferably a small brush (e.g. toothbrush), after each use.
To replace blades follow steps 1 and 2 above and then remove the fixing screws, blade cover and fixing plate. On re-assembling the SoloComb ensure that the screws are fully tightened.
-

Click and Collect
-

In Store SQP Animal Health Team
-

Free local delivery
-

Delivery across the UK


